
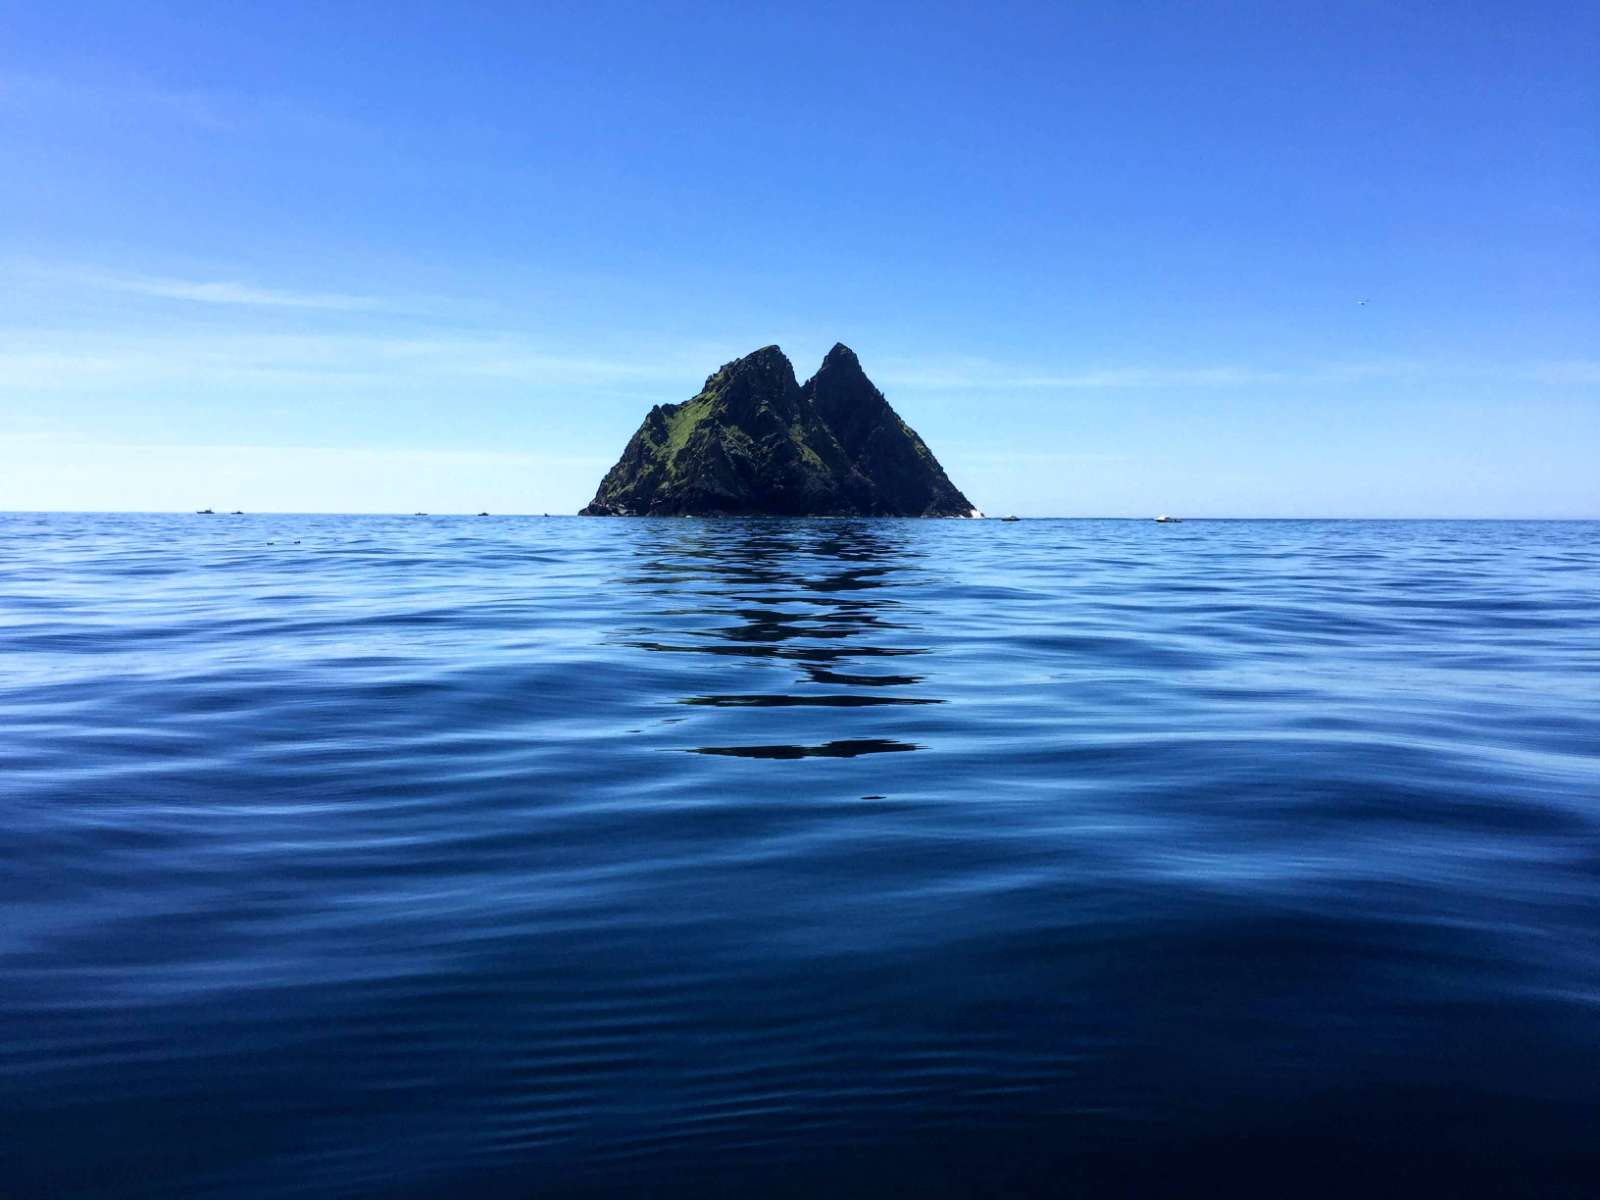
Salt spray, changing weather and 618 stone steps make Skellig Michael a hard place to photograph. The island is about 12 kilometres off the Kerry coast, and you reach it by boat from Portmagee. These are the tips we give photographers who travel with us.
Protect your camera from salt water
The biggest risk to your camera is the sea, because even on a fairly calm day there is spray on the boat.
Keep your camera in a dry bag or a weather-sealed camera bag during the crossing. Take it out once the boat has docked, or when the skipper says it is safe.
Bring plenty of microfibre cloths and a small bottle of lens cleaner so you can wipe drops off straight away, but gently. If a drop of salt water dries on your lens, it leaves a crust that spoils every photo after it.
A UV filter protects the front of your lens. It is better to scratch a €50 filter than an expensive lens while you wipe off salt in a hurry.
Little Skellig and the gannets
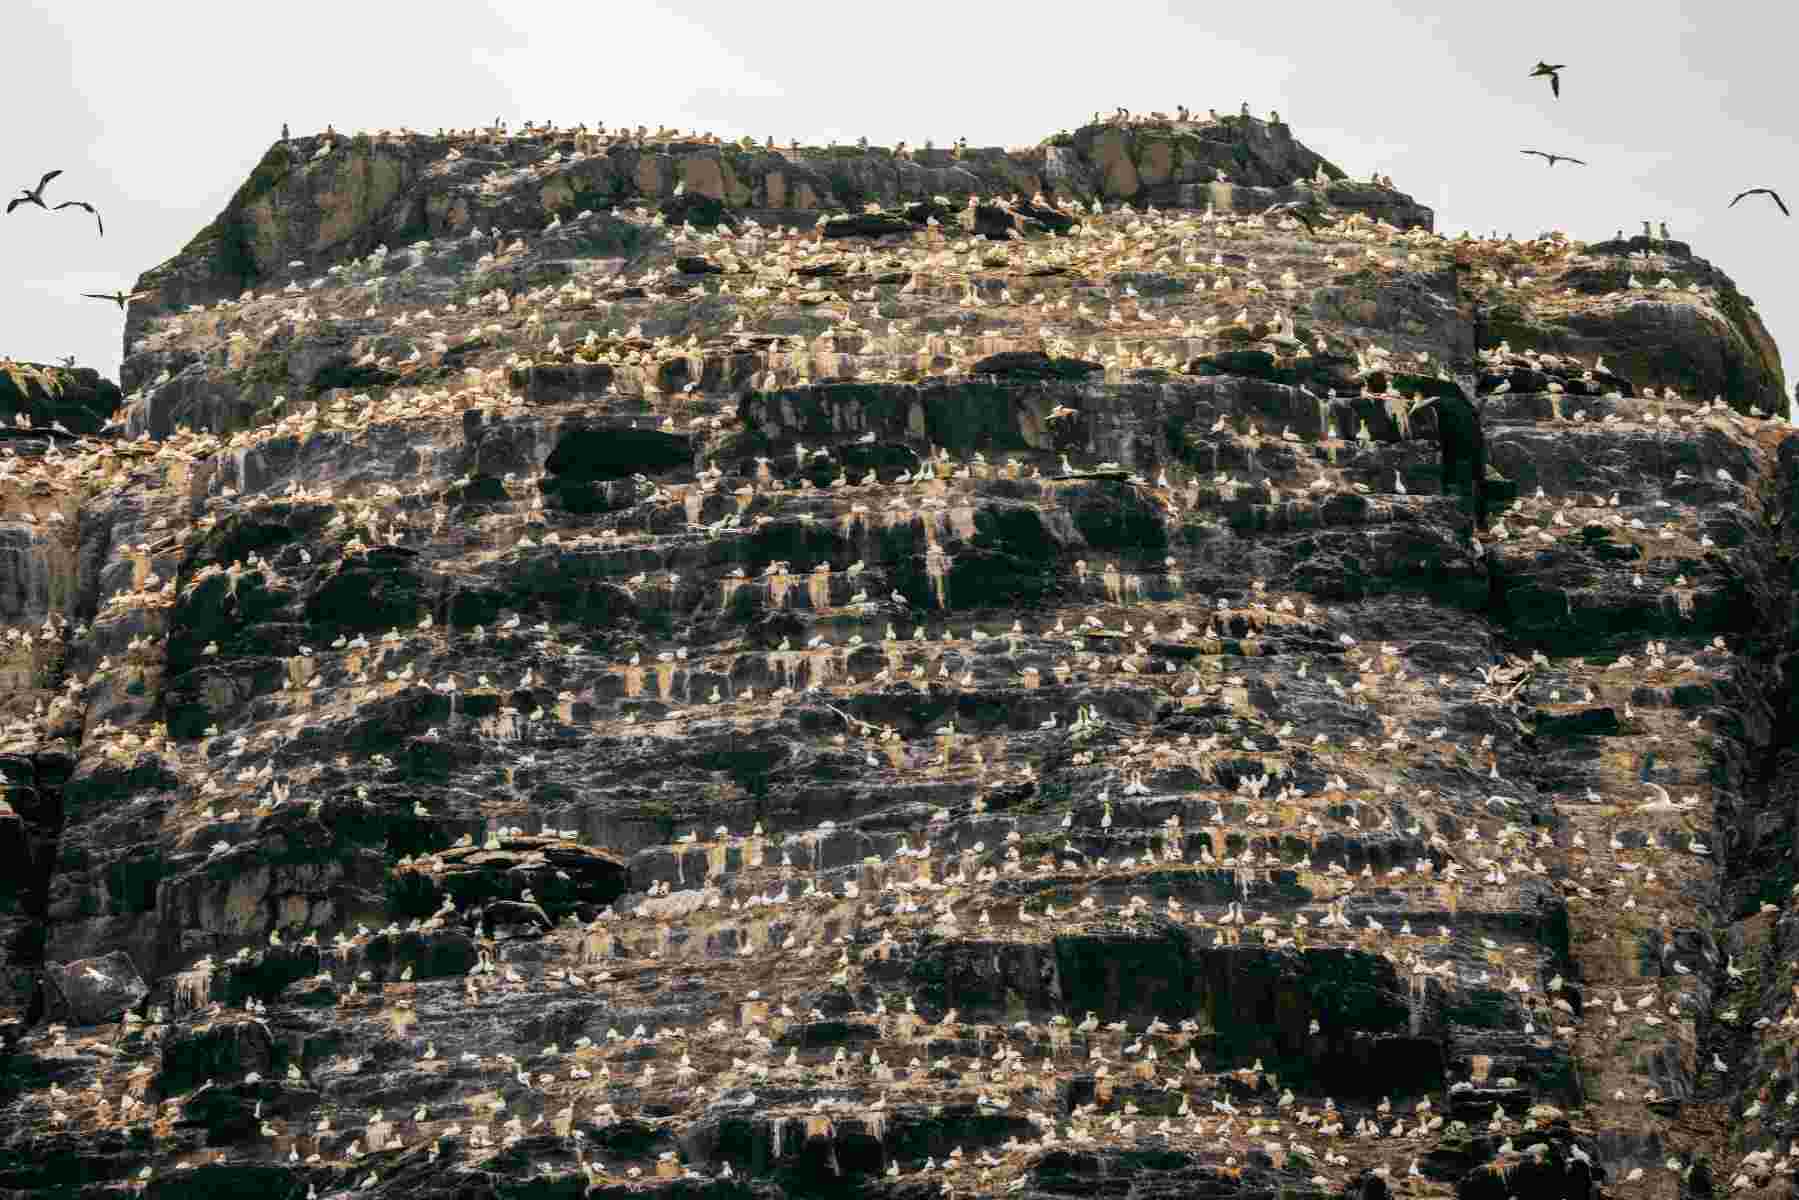
On the way to Skellig Michael we pass Little Skellig, which has one of the biggest gannet colonies in the world. From a distance the island looks white, but as we get closer, you can see that the white is gannets. A zoom lens of about 70 to 200mm works well here.
Settings for gannets
- Shutter speed. Gannets fly fast and change direction often, so use at least 1/1600s to freeze them in flight, or 1/2000s if the light allows.
- Aperture. Try f/5.6 or f/8, which gives you some room for focus error and still keeps the cliffs behind the birds soft.
- Drive mode. Use high-speed burst, because a gannet’s dive into the sea is over in a fraction of a second.
Photographing the steps
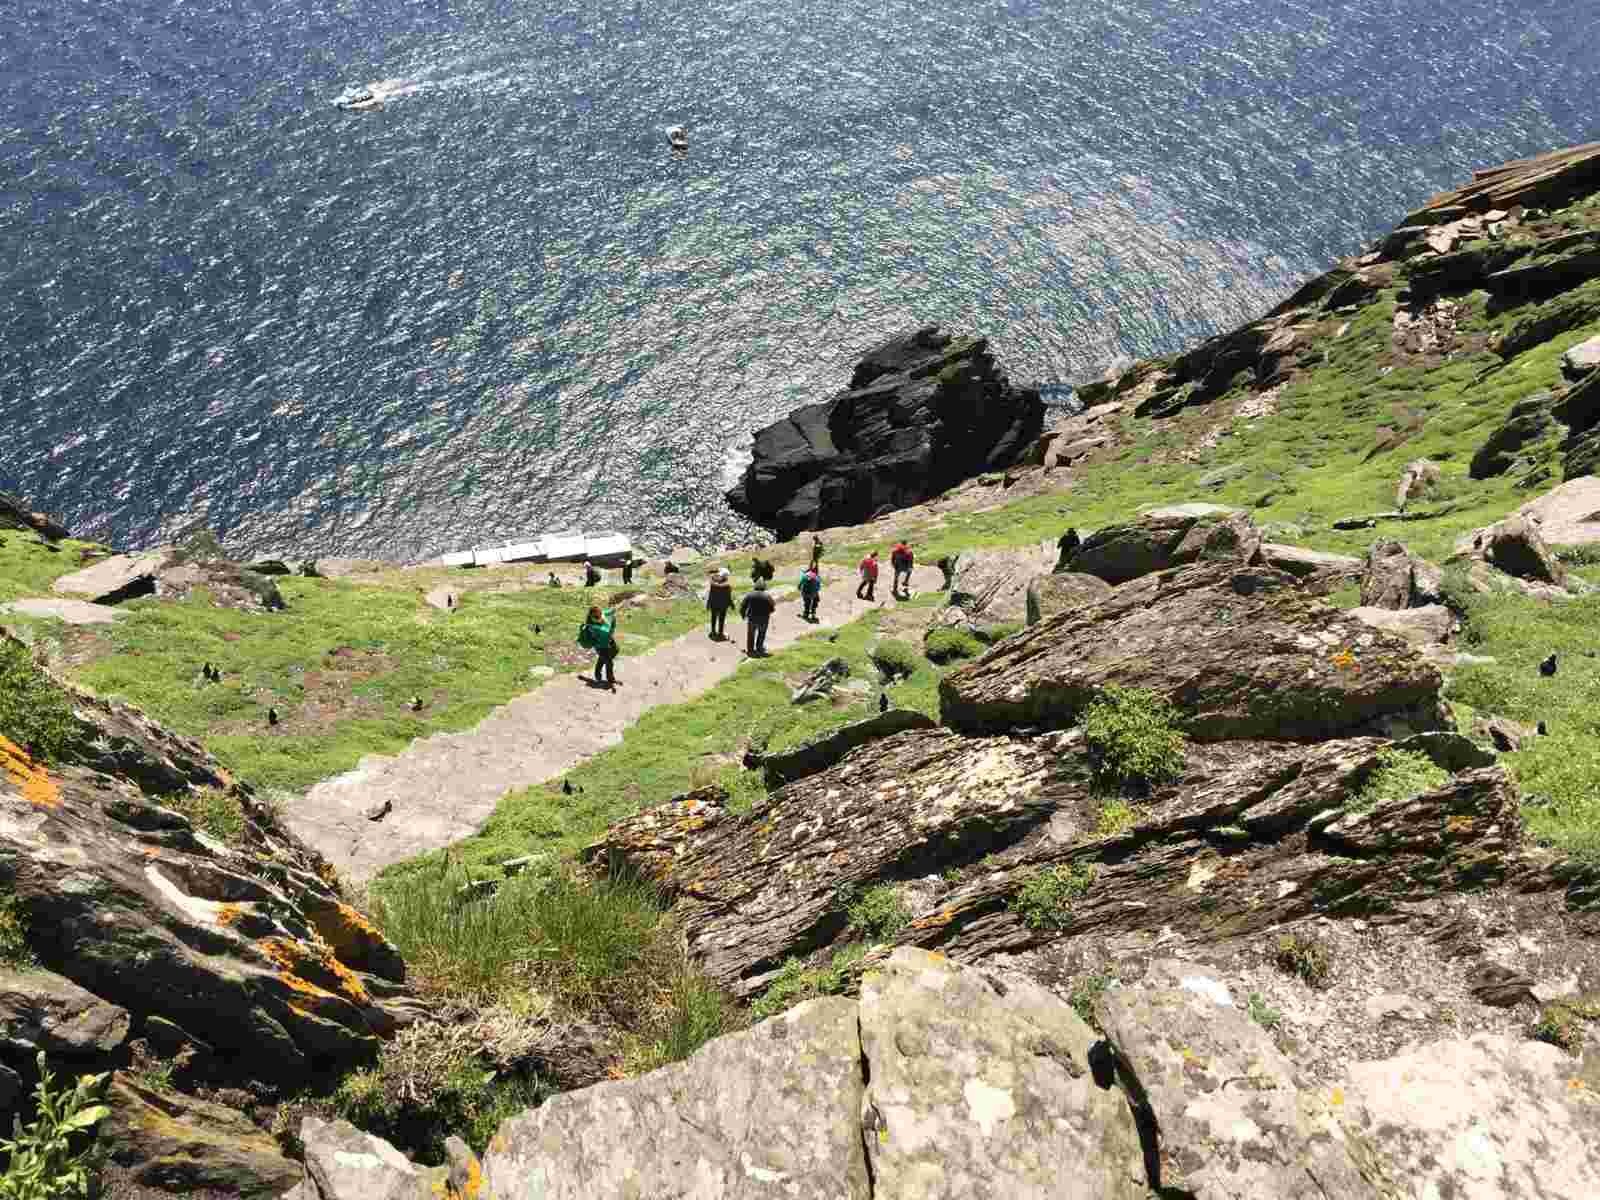
On the landing tour, 618 stone steps lead from the landing to the monastery, and the monks built them more than 1,000 years ago. There are no handrails, so stand still and stay on the path when you take a photo.
Photos taken straight up the steps often make the slope look flat, so try these angles instead.
- Low angle. Hold the camera close to the steps and point it upwards to show the slope and the texture of the stone.
- At a turn. The path zigzags in several places, so stand at a corner and wait for other people to climb a few flights above you. A person in the frame shows the size of the cliffs.
- Looking back. Turn round and photograph the steps going down towards the sea, with Little Skellig behind. Use f/11 or f/16 so the near steps and the far island are both sharp.
Our guide to the Skellig Michael steps explains how to prepare for the climb.
The monastery and beehive huts
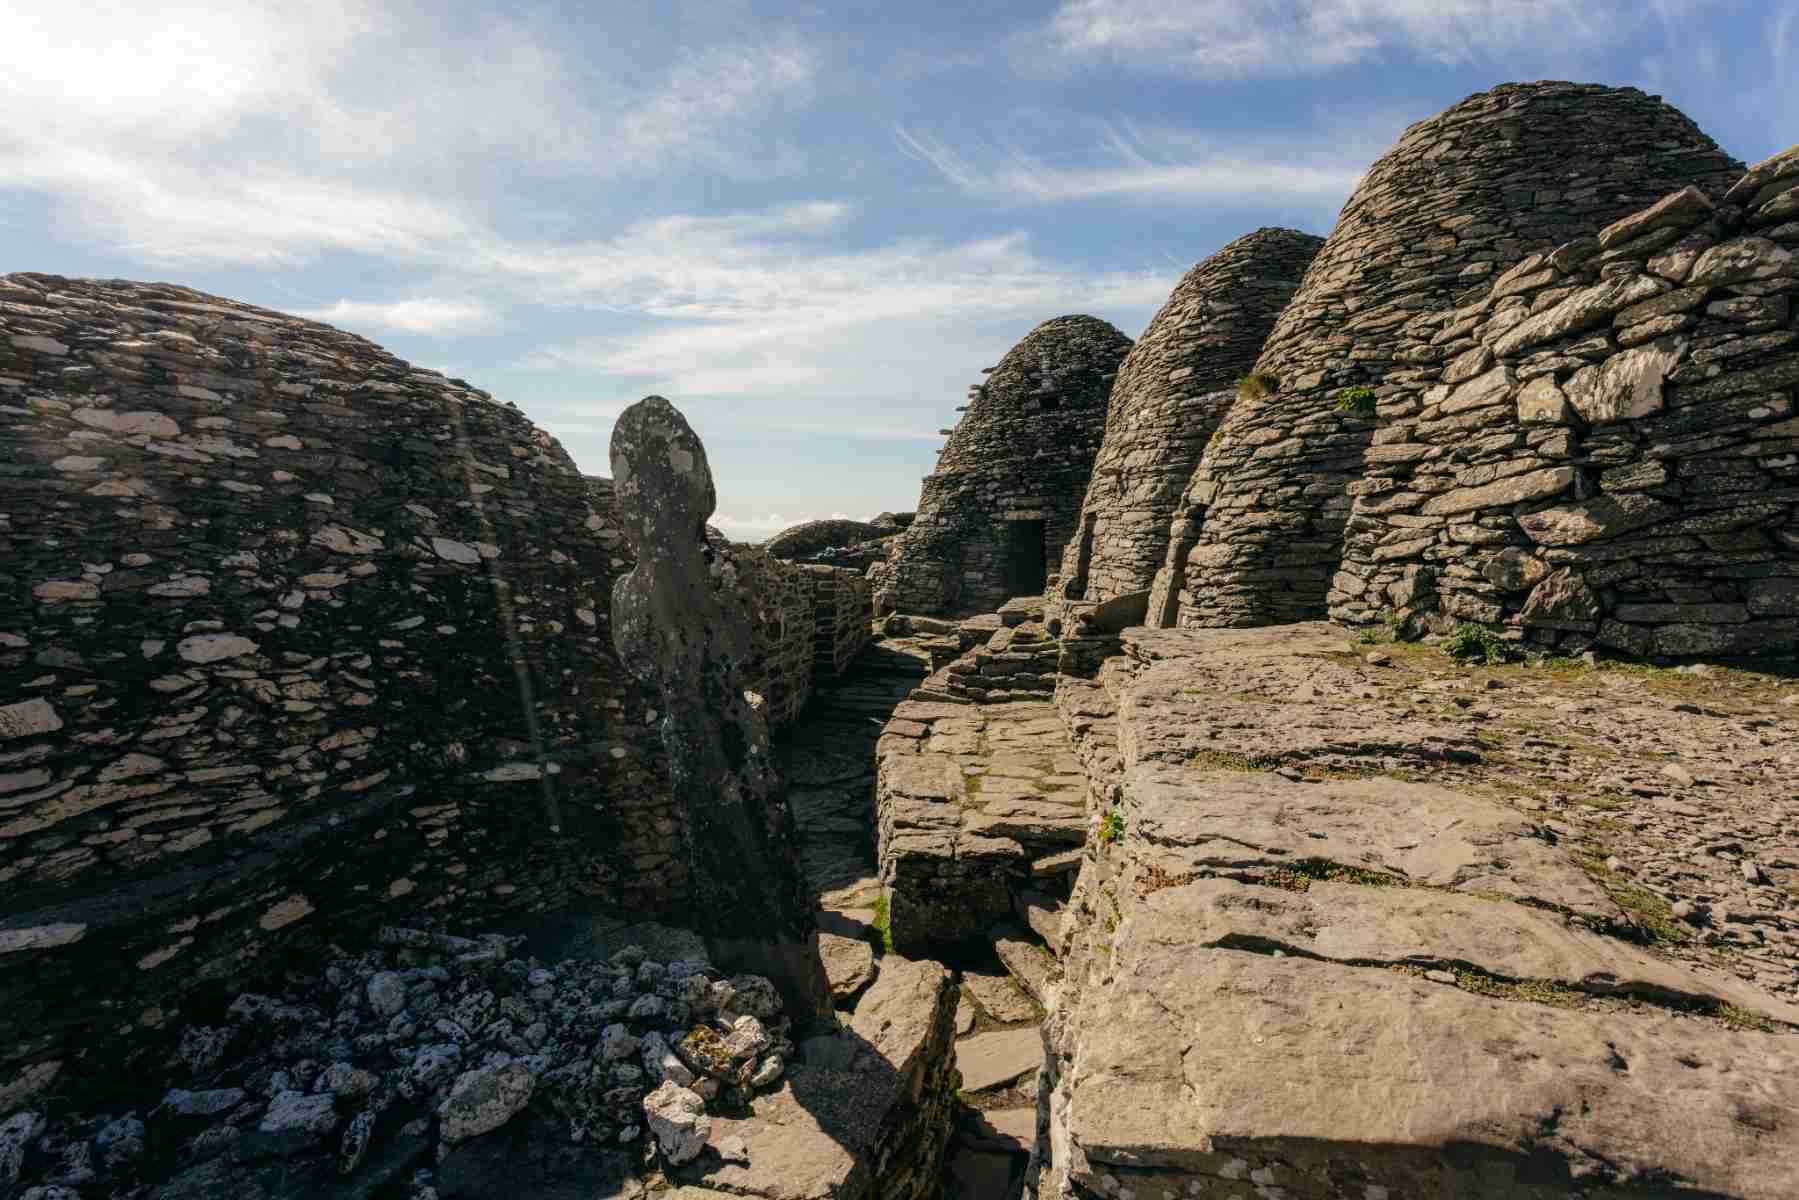
The monastery at the top was founded around the 6th century, and its six beehive huts, called clocháns, are built of stone with no mortar. Dark stone against a bright sky can confuse your camera’s metering.
- Exposure compensation. On a sunny day the camera may overexpose the sky. Set exposure compensation to minus 0.7 or minus 1 to keep detail in the bright areas, and lift the shadows later when you edit.
- Inside the huts. Ask the OPW guides before you go inside a hut. The only light comes through the small door, so raise your ISO to 1600 or 3200. A grainy photo is better than a blurred one.
- Wide angle. A 16 to 35mm lens lets you fit several huts in one frame, which shows how close together the monks lived.
Photographing puffins
Puffins are on Skellig Michael from about late April to early August, with most in May, June and July. They often nest right beside the path, but do not go close. A 200mm or 400mm lens lets you fill the frame without disturbing the birds.
- Eye level. Crouch down to the bird’s level, but stay on the path. A photo from standing height looks like a snapshot, while one from eye level looks like a portrait.
- Focus. Use single-point autofocus and aim for the eye, because if the eye is not sharp, the photo will not work.
- Puffins with fish. Puffins come back from the sea with their beaks full of sand eels. To catch this you need a shutter speed of about 1/2000s and some patience.
Our puffin guide explains the season month by month.
What to pack
On the landing tour you carry everything up the steps and back down again, so pack as light as you can.
- Tripod. Leave a heavy tripod at home unless you plan long exposures with filters. A light carbon fibre travel tripod or a monopod is easier to carry.
- Lenses. If you bring one lens, make it a 24 to 105mm, which covers the landscape, the steps and wider shots of the birds. If you have room for a second, bring a long telephoto zoom.
- Batteries. Cold sea air drains batteries faster than usual, so bring a spare and keep it in an inside pocket, close to your body.
- Supplies. There are no toilets, shelter, bins or shops on the island, so bring what you need and take your rubbish home.
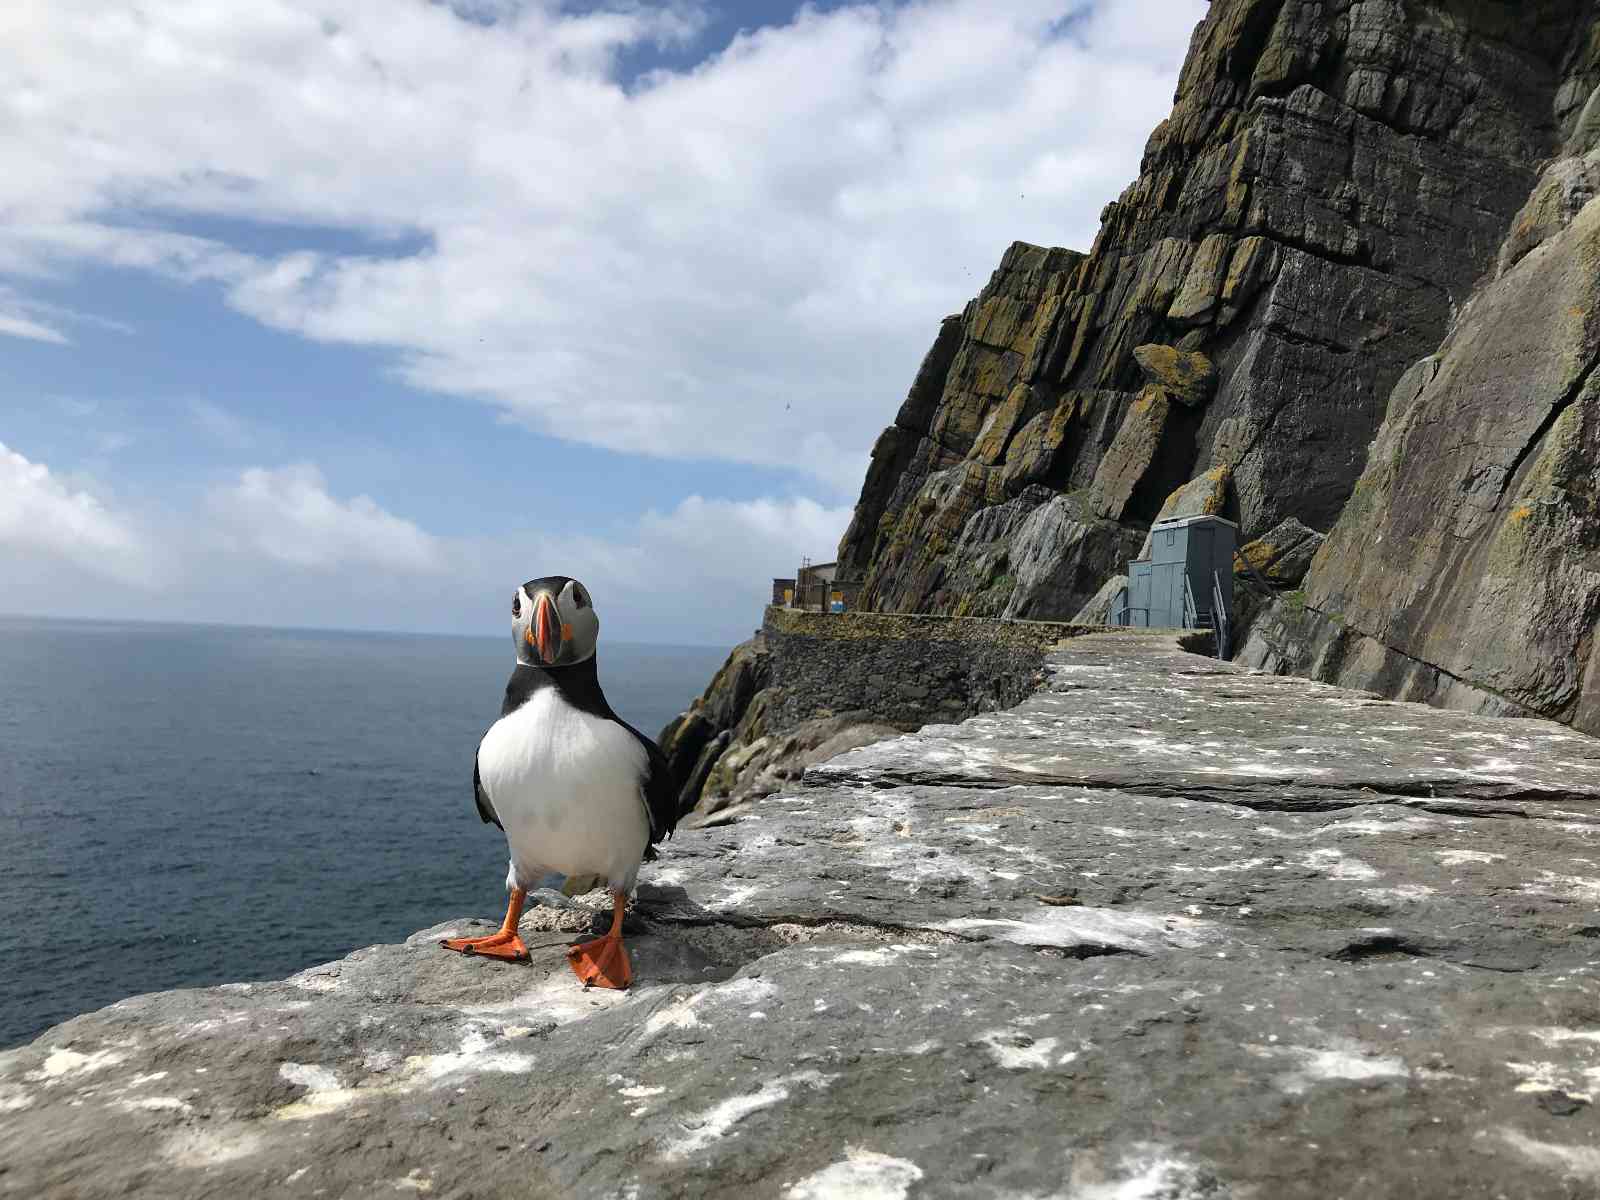
Stay on the path
Always follow the instructions of our crew and the OPW guides on the island, and stay on the marked paths. The ground off the path is full of puffin burrows, and a step in the wrong place can make them collapse.
Booking the landing tour
The Skellig Michael landing tour gives you about 2.5 hours on the island. It is for ages 14 and over and runs from mid-May to the end of September, weather permitting.
Landing numbers are limited each day by the OPW, so book early. Landing is never guaranteed because it depends on the sea.
If you cannot do the climb, our Skellig Islands boat tour circles both islands and suits all ages. You can still photograph the gannets and the cliffs from the boat.
If you have questions about gear or the best time of year for your photos, contact us.